Replacing Plugin Field's Placeholder with Actual Input Field Using Plugin Event
With the Guest Support Pro extension, you have the flexibility to create numerous custom fields. By using the 'Plugin Field' form field type, you can generate input field programmatically using a plugin event described below. This method retains the label, column size, and field order from the form, allowing you to leverage form designer features effortlessly.
Example Use Case:
Imagine you have few products and wish to dynamically display them with a select box, enabling users to choose the product they need support for. Alternatively, you may want to present logged-in customers with their orders as a select box, allowing them to select the order they require support for. This feature seamlessly facilitates such functionalities.
Step 01: Create Form Field:
- Create a custom form field by following How to add custom form fields?
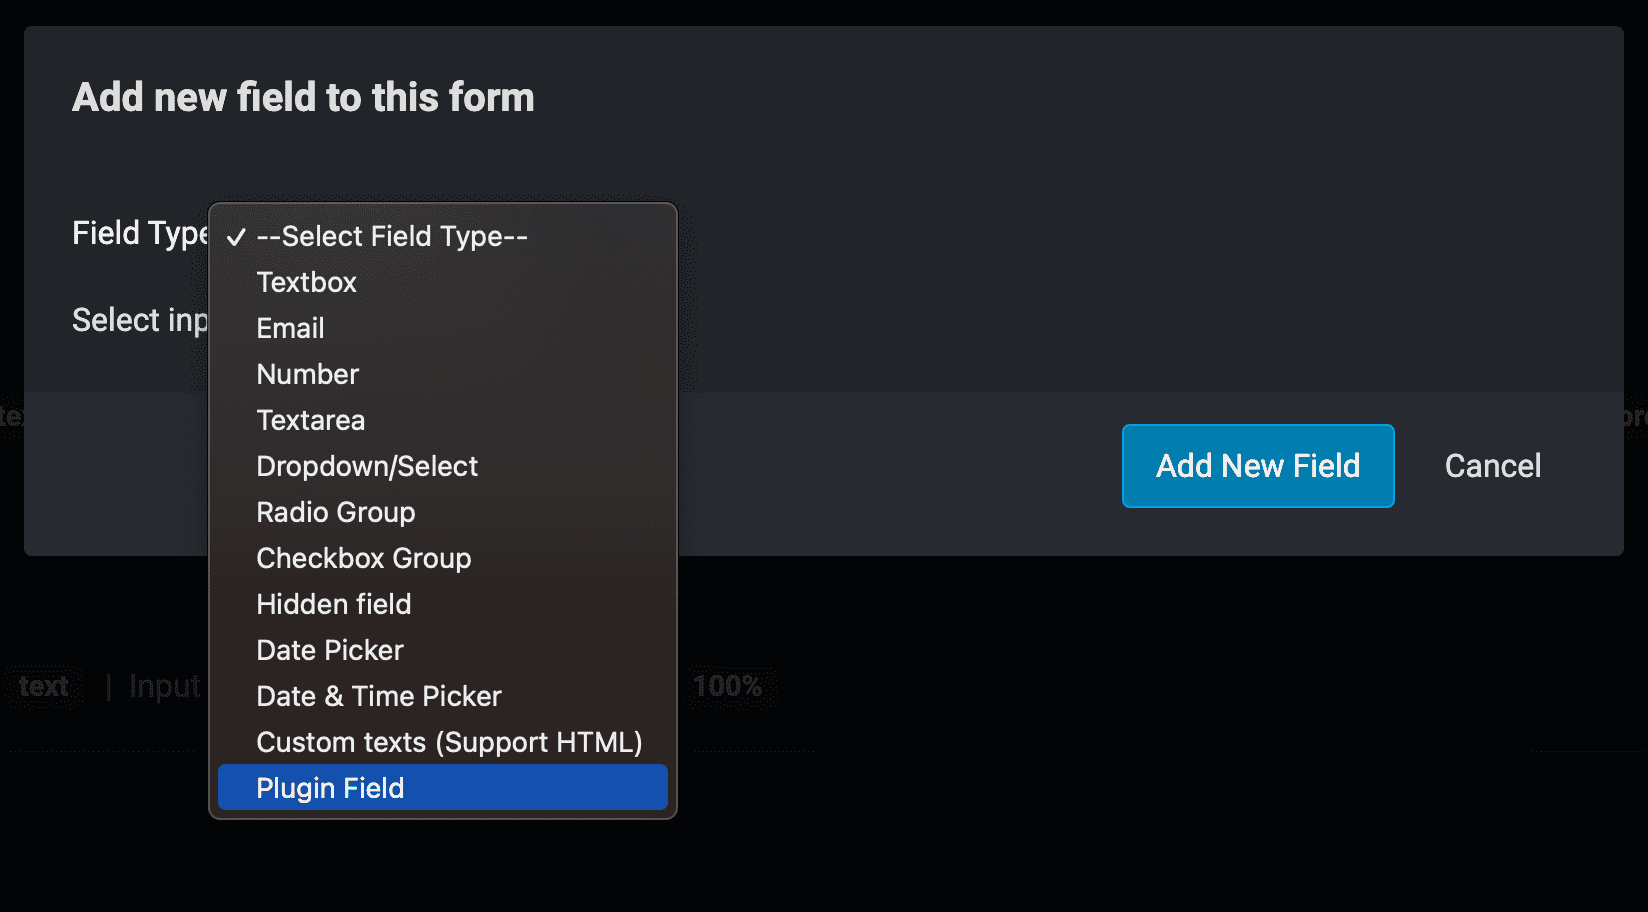
- Choose the Field Type: Plugin Field. Refer to the screenshot below for reference:
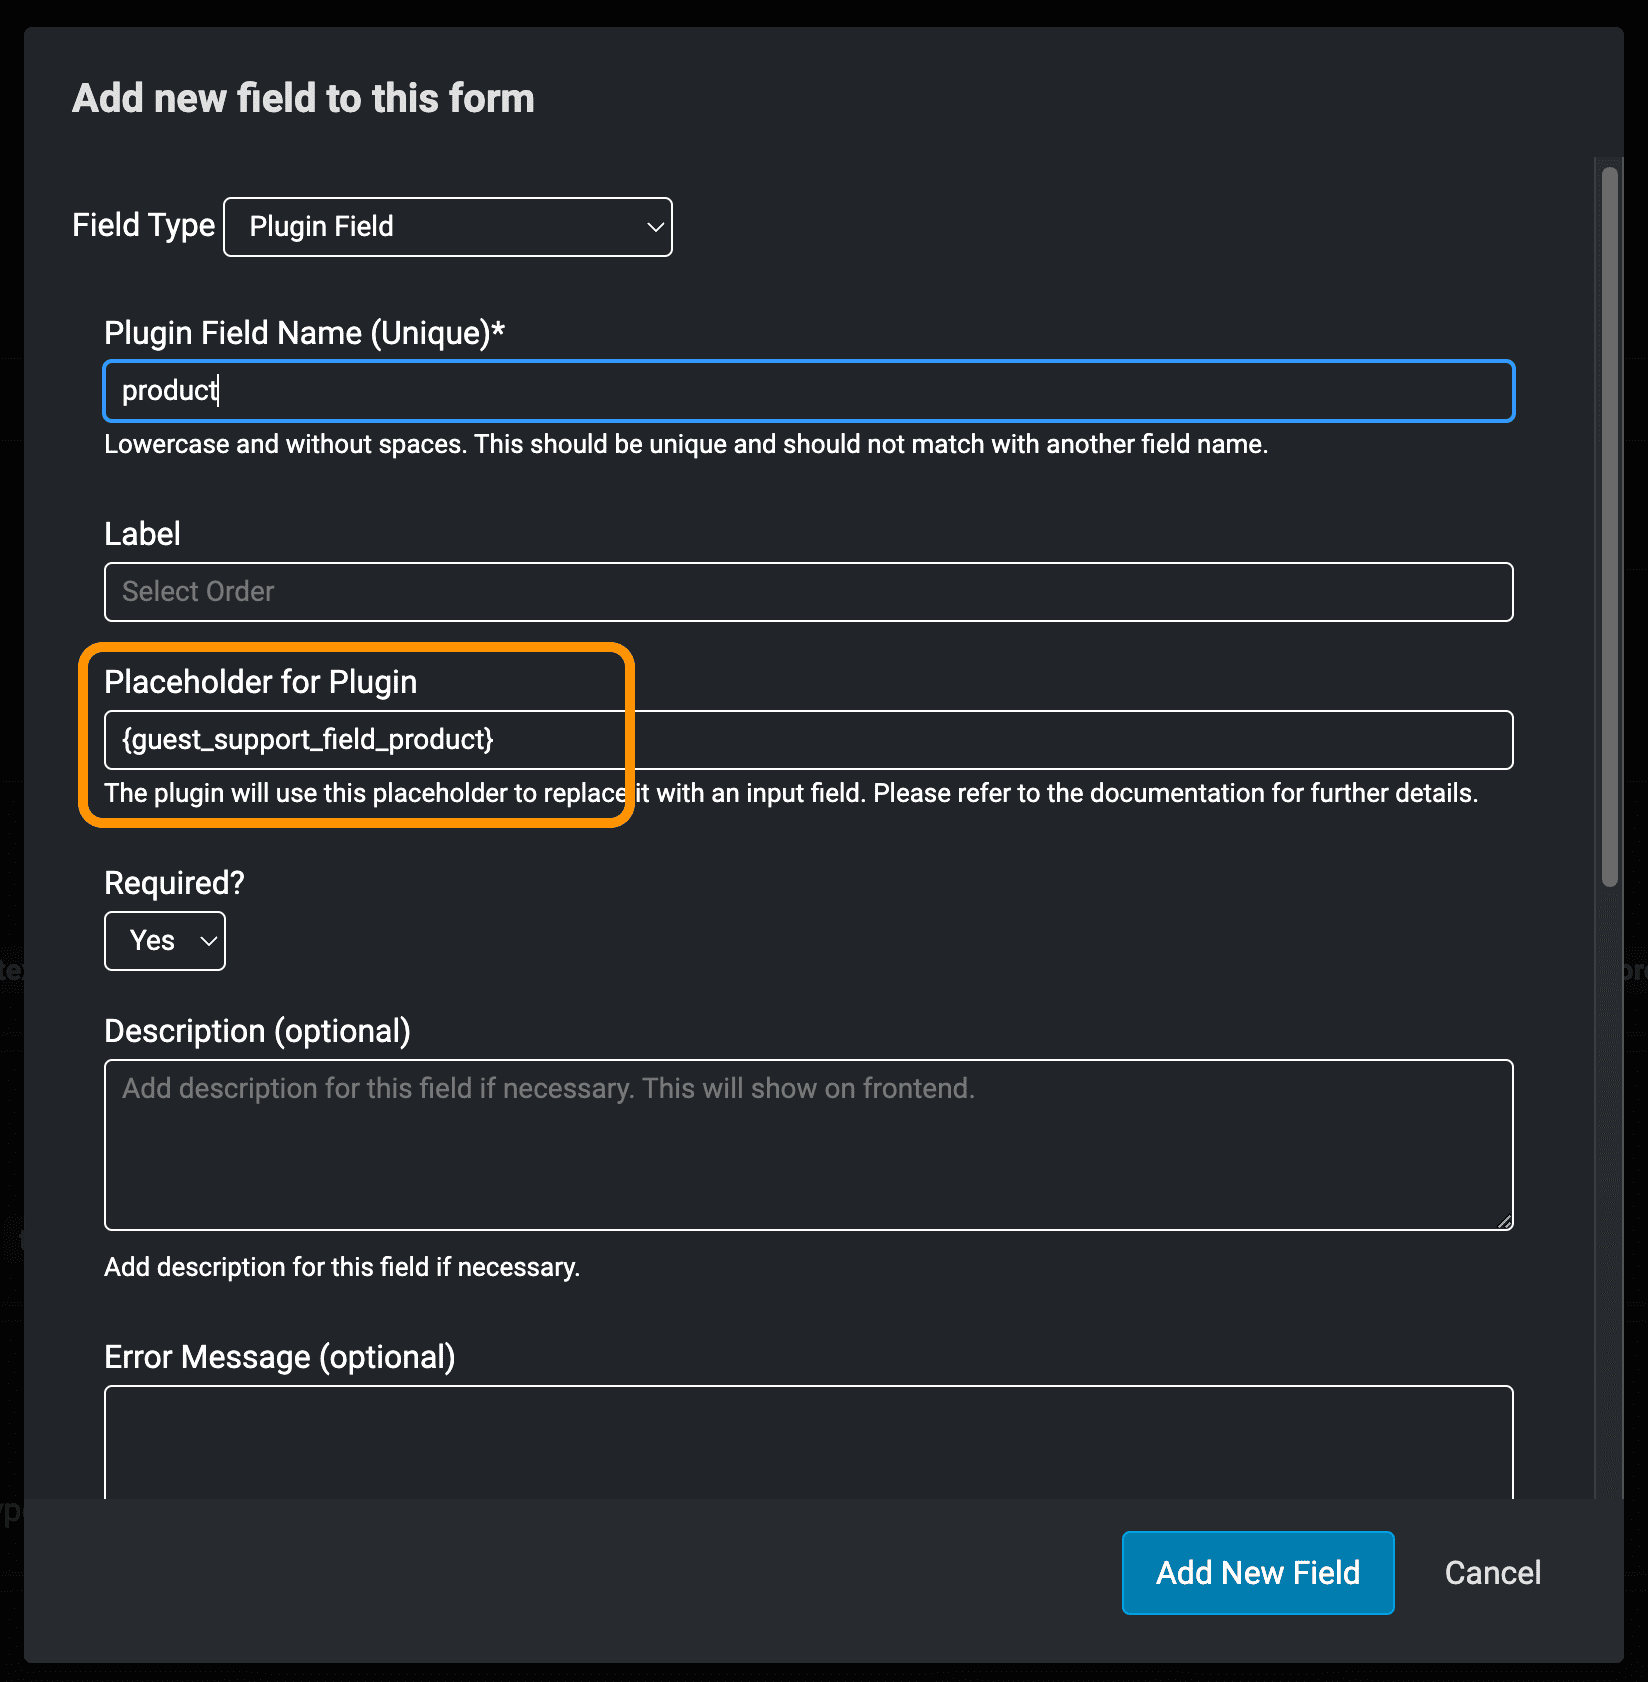
- From the Placeholder for Plugin input box, copy the value. For example: {guest_support_field_product}. The Placeholder for Plugin should be unique for every field with type Plugin Field. Refer to the screenshot below for reference:
Step 02: Generate Input Field with Plugin Event:
Guest Support utilizes the Joomla! plugin system with the group guestsupport. Therefore, the initial step is to create a standard Joomla! plugin and install it using Joomla!'s extension installer. You can learn how to create a Joomla! plugin by referring to the official Joomla! documentation available here: https://docs.joomla.org/Portal:Plugin_Development
To define the plugin group do as follows on the xml file:
<extension type="plugin" group="guestsupport" method="upgrade">Using the API:
onGuestsupportBeforeDisplayForm(Event $event)
/**
 * Triggered before displaying form fields.
 * Applies to both ticket submission and ticket reply forms.
 */
public function onGuestsupportBeforeDisplayForm(Event $event)
{
    // Modify the form fields here.
}
This method will trigger before displaying your form fields. The method applies to both the ticket submission and ticket reply forms. The $event object includes the following parameters:
- 'context': The value is
'guestsupport.ticketform'on the ticket submission form and'guestsupport.replyform'on the reply form. - 'form_id': This parameter includes the Form ID.
- 'data': This parameter contains the raw HTML data of the form fields. You can utilize functions like str_replace() to replace the form field's placeholder with an actual input field.
To use the method, include the following namespace in the plugin's PHP file:
use Joomla\Event\Event;Here is a basic example demonstrating how to replace the placeholder with an actual input field:
public function onGuestsupportBeforeDisplayForm(Event $event)
{
  $data = $event->getArgument('data');
  $input = '<input type="text" name="order_no" placeholder="Enter your order no.">';
  $data = str_replace( "{guest_support_field_order_no}", $input, $data );
  $event->setArgument('data', $data);
}