Header section - edit logo, menu, search and cart

- Login to your WordPress Admin
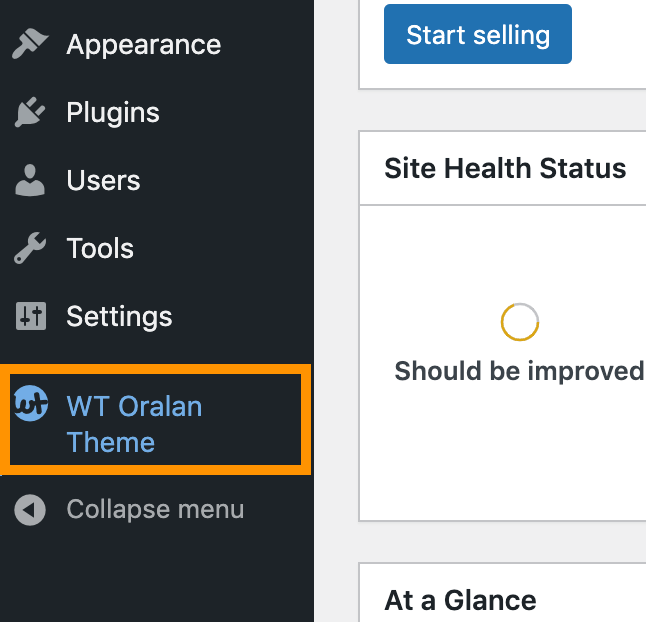
- From WordPress Admin, click on WT THEME_NAME Theme
- Here, we will use Base Outline so we can show these gobal header and footer to all pages and also inherit them on other outlines.
Click on Layout under Base Outline
- Scroll down to Header section, click config icon next to the Header Toolbar particle

Change Logo
From the Header Toolbar popup window options, follow on-screen instructions under Logo Options and click on Apply and Save.
Add/Edit Menu
- Read and follow Create dropdown and mega menu
- From the Header Toolbar popup window options, follow on-screen instructions under Menu Options and click on Apply and Save.
Search Widget
- Read and follow Edit search form
- From the Header Toolbar popup window options, follow on-screen instructions under Search Options and click on Apply and Save.
Account Menu with Popup Login Form
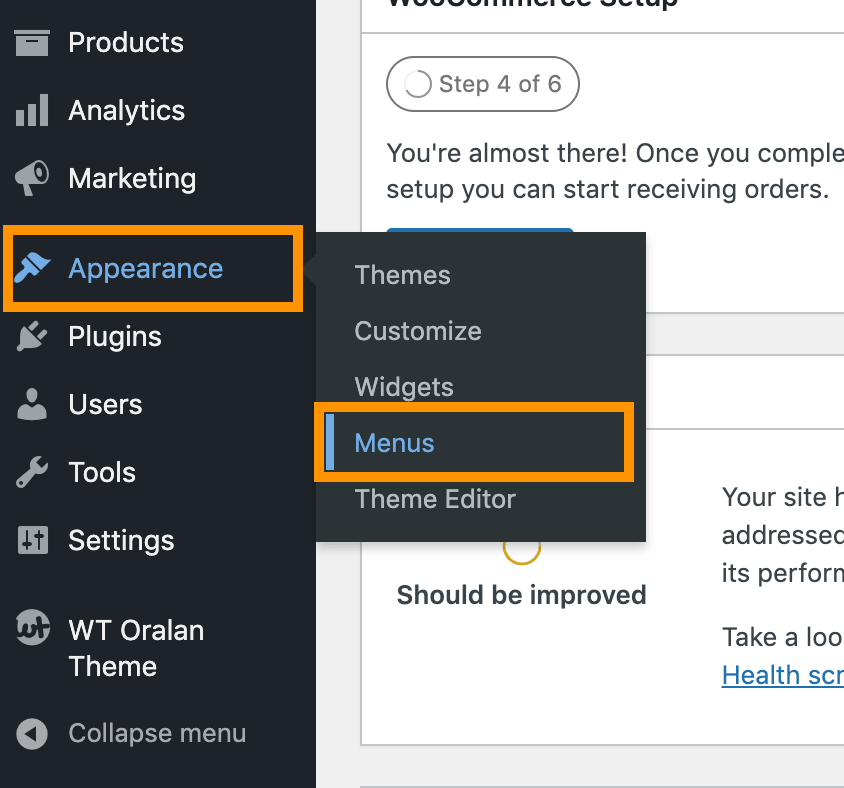
- From WordPress Admin, click on Appearance -> Menus
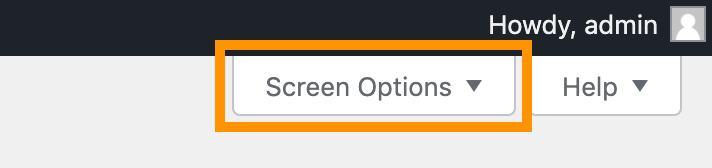
- Click on Screen Options from top right corner
- Check on CSS Classes

- Click on create a new menu

- Enter menu name Account (you can use any name) and click on Create Menu button

- Create Login menu item and as well as other necessary menu items like below screenshot
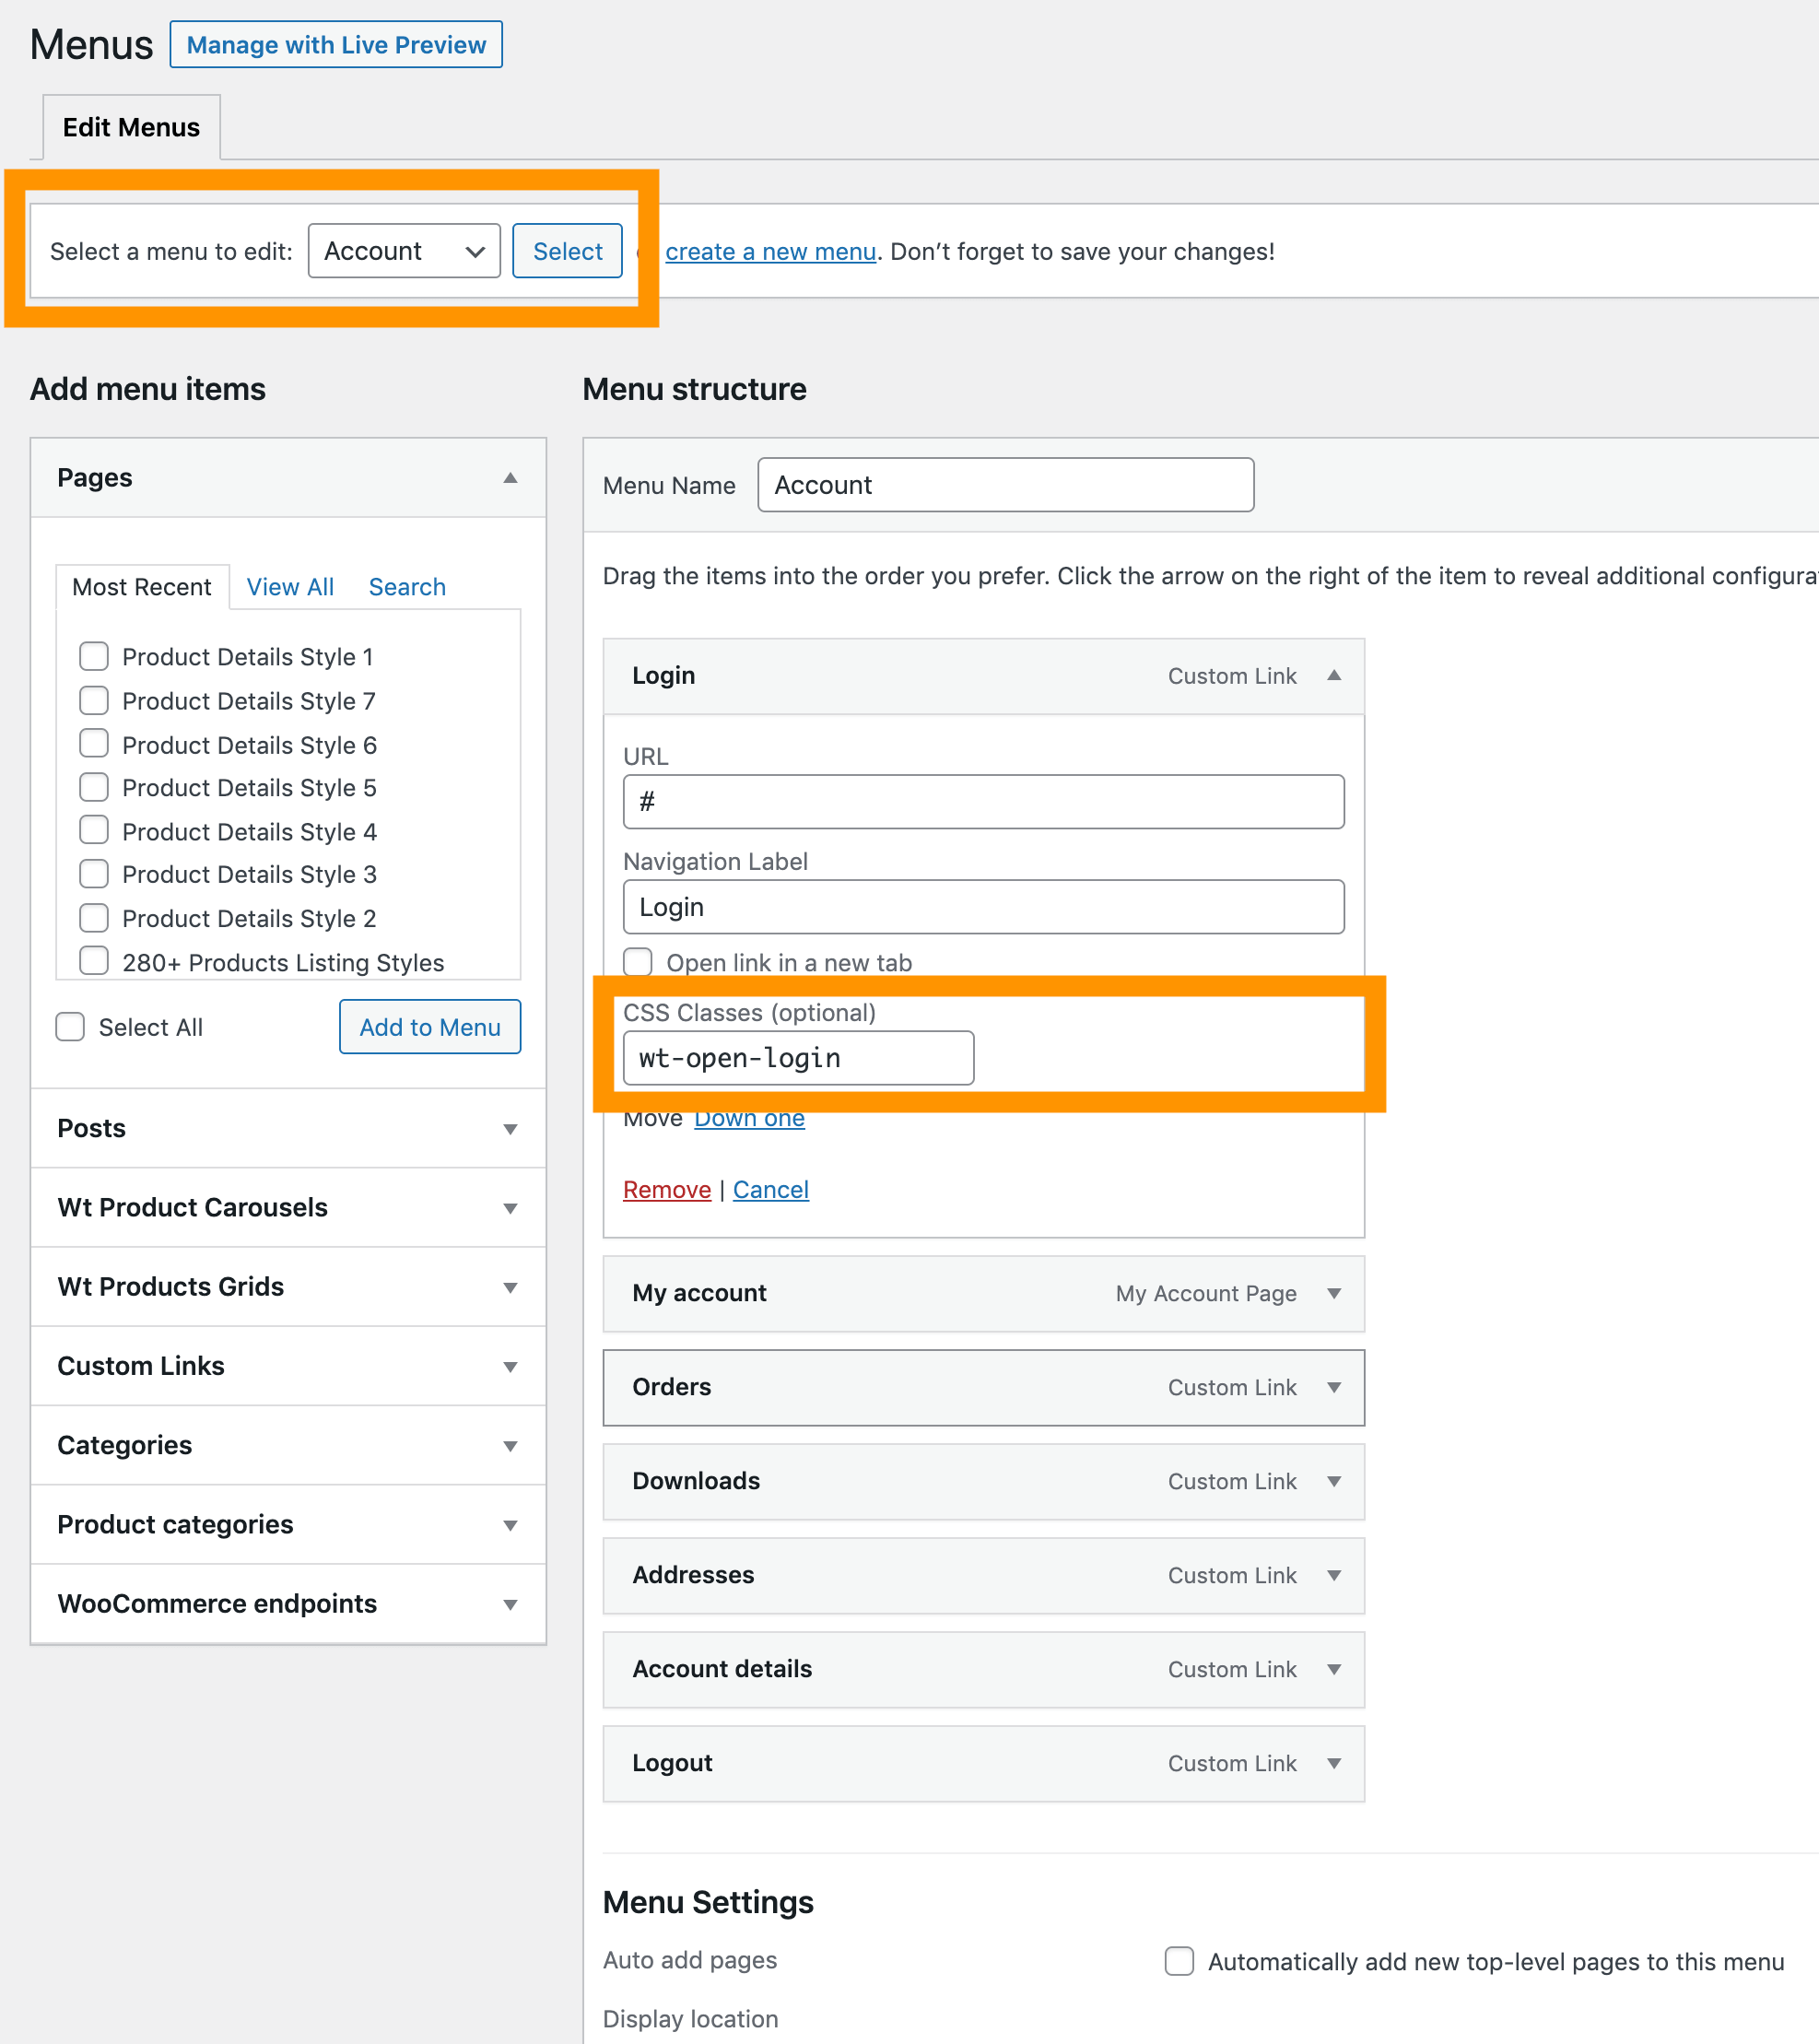
- Expand the Login menu you created and under the CSS Classes (optional) add wt-open-login
- Click on Save Menu
- See video Add login menu with popup login form if you still need help creating account menu items
- Follow very first steps again and open Header Toolbar particle
- Click on Account Menu
- Under Select Menu Widget click on Edit Widget
- Select (Account) menu you just created and click Apply button
- Check and edit other options as necessary and click on Apply and Save.
Cart Widget
- Read and follow Edit cart widget
- From the Header Toolbar popup window options, follow on-screen instructions under Cart and click on Apply and Save.