Setup cron job to send pre-close email notifications and auto close tickets
WordPress includes a built-in cron system known as "WP-Cron", which handles the scheduling of time-based tasks within the platform.
According to WordPress developer documentation, WP-Cron is the mechanism by which WordPress manages time-based task scheduling within the platform. Several core functionalities of WordPress, including update checks and the publication of scheduled posts, rely on WP-Cron for execution. The term 'Cron' in WP-Cron is derived from the cron scheduling system commonly used in UNIX environments.
WP-Cron operates by evaluating a list of scheduled tasks on each page load to determine which tasks need to be executed. Tasks that are due for execution are triggered during that particular page load event.
It's important to note that unlike the system cron, which runs continuously, WP-Cron is only activated upon page loads. Therefore, if there are no page loads between scheduled task times, scheduling errors may occur.
To resolve this issue, you must set up a cron job in your hosting control panel. Doing so will ensure the timely execution of scheduled tasks related to the Guest Support plugin, such as sending pre-ticket closure email notifications, automatically closing tickets, and sending ticket closure email notifications. Additionally, it will guarantee the reliable execution of default WordPress scheduled tasks, such as update checks and post publication.
Set up a cron job in your hosting control panel:
- Cron job setup is different on different hosting control panel. Ask your hosting provider or refer to their documentation and learn how to create cron job on your hosting control panel
- Cron Command:
curl -s "https://YOUR_SITE_URL/wp-cron.php" > /dev/null
(replace https://YOUR_SITE_URL with the actual URL of your WordPress site) - Common/Time settings: Every 5 minutes.
Here is how to create Cron Job in cPanel:
- Login to your cPanel
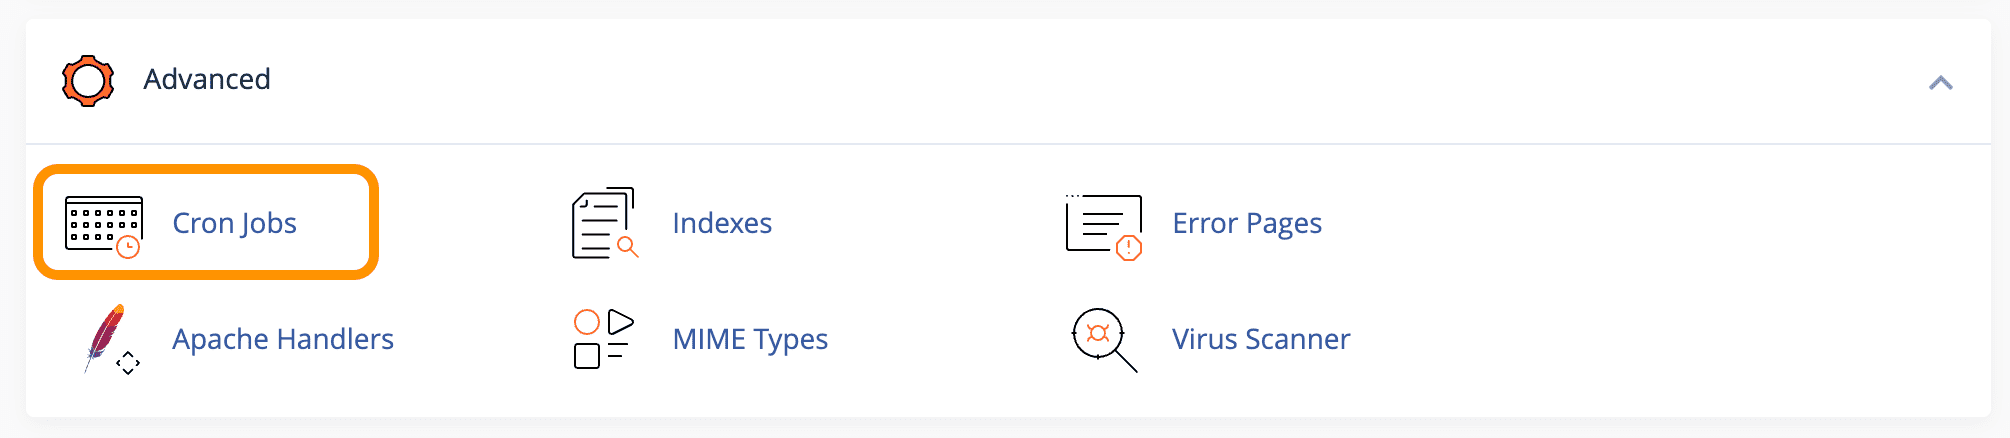
- Search for Cron Jobs and then click on the Cron Jobs
- Scroll down to Add New Cron Job
- Under Common Settings select Once Per Five Minutes(*/5 * * * *)
- Under Command: add-
curl -s "https://YOUR_SITE_URL/wp-cron.php" > /dev/null
(replace https://YOUR_SITE_URL with the actual URL of your WordPress site)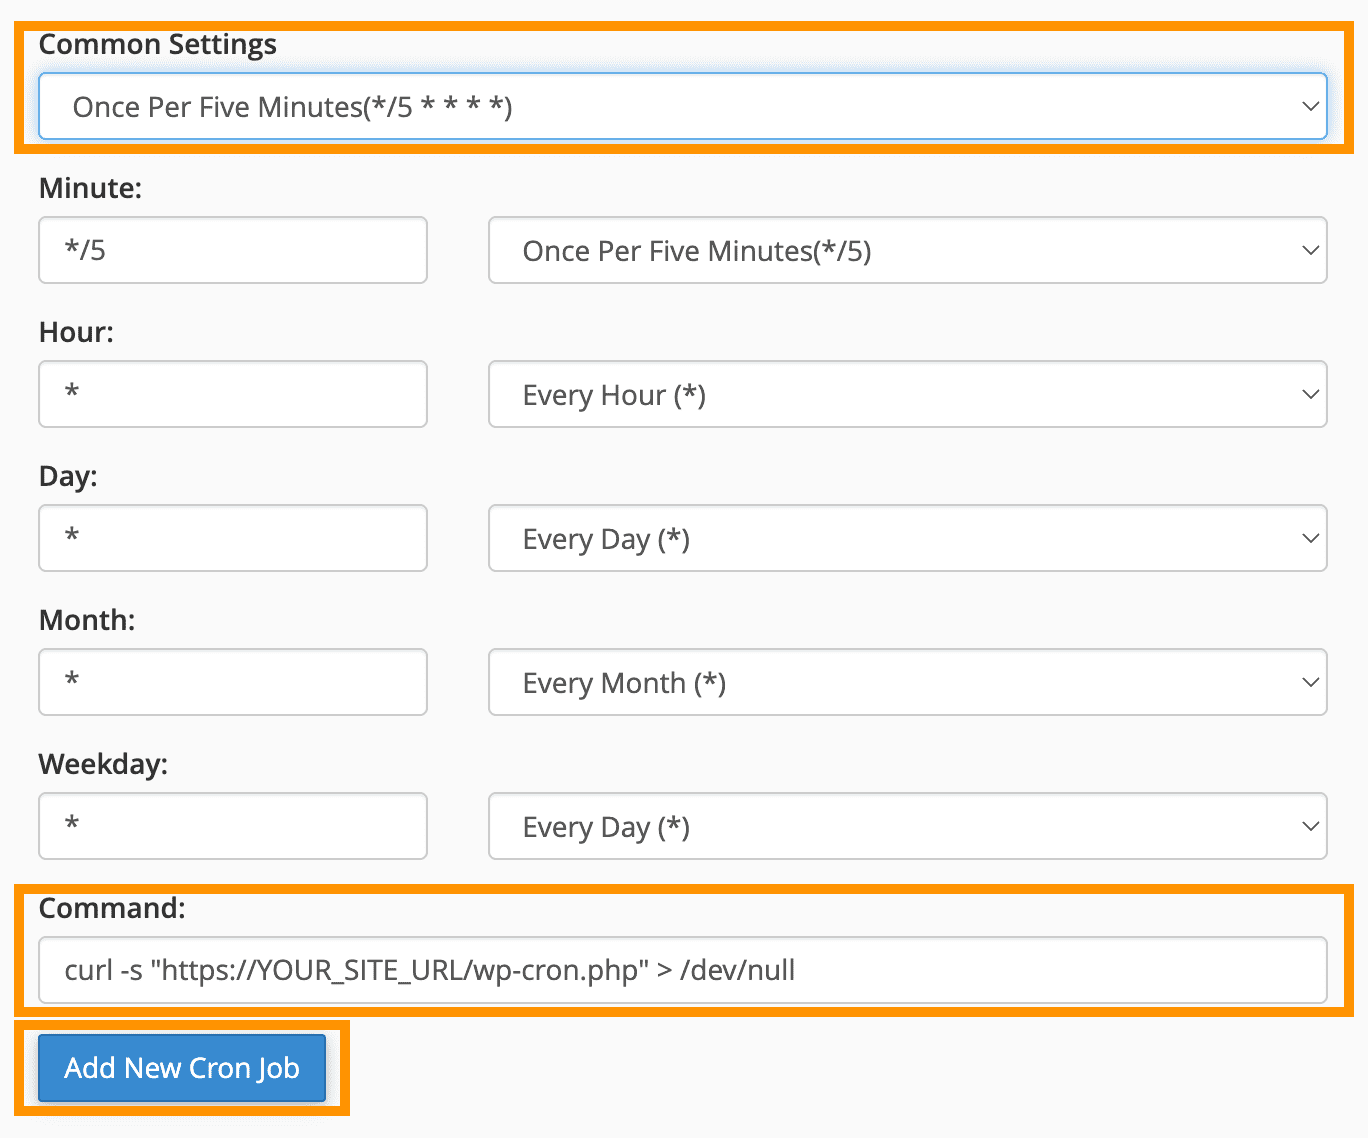
- Click on Add New Cron Job button.
Disable WP-Cron:
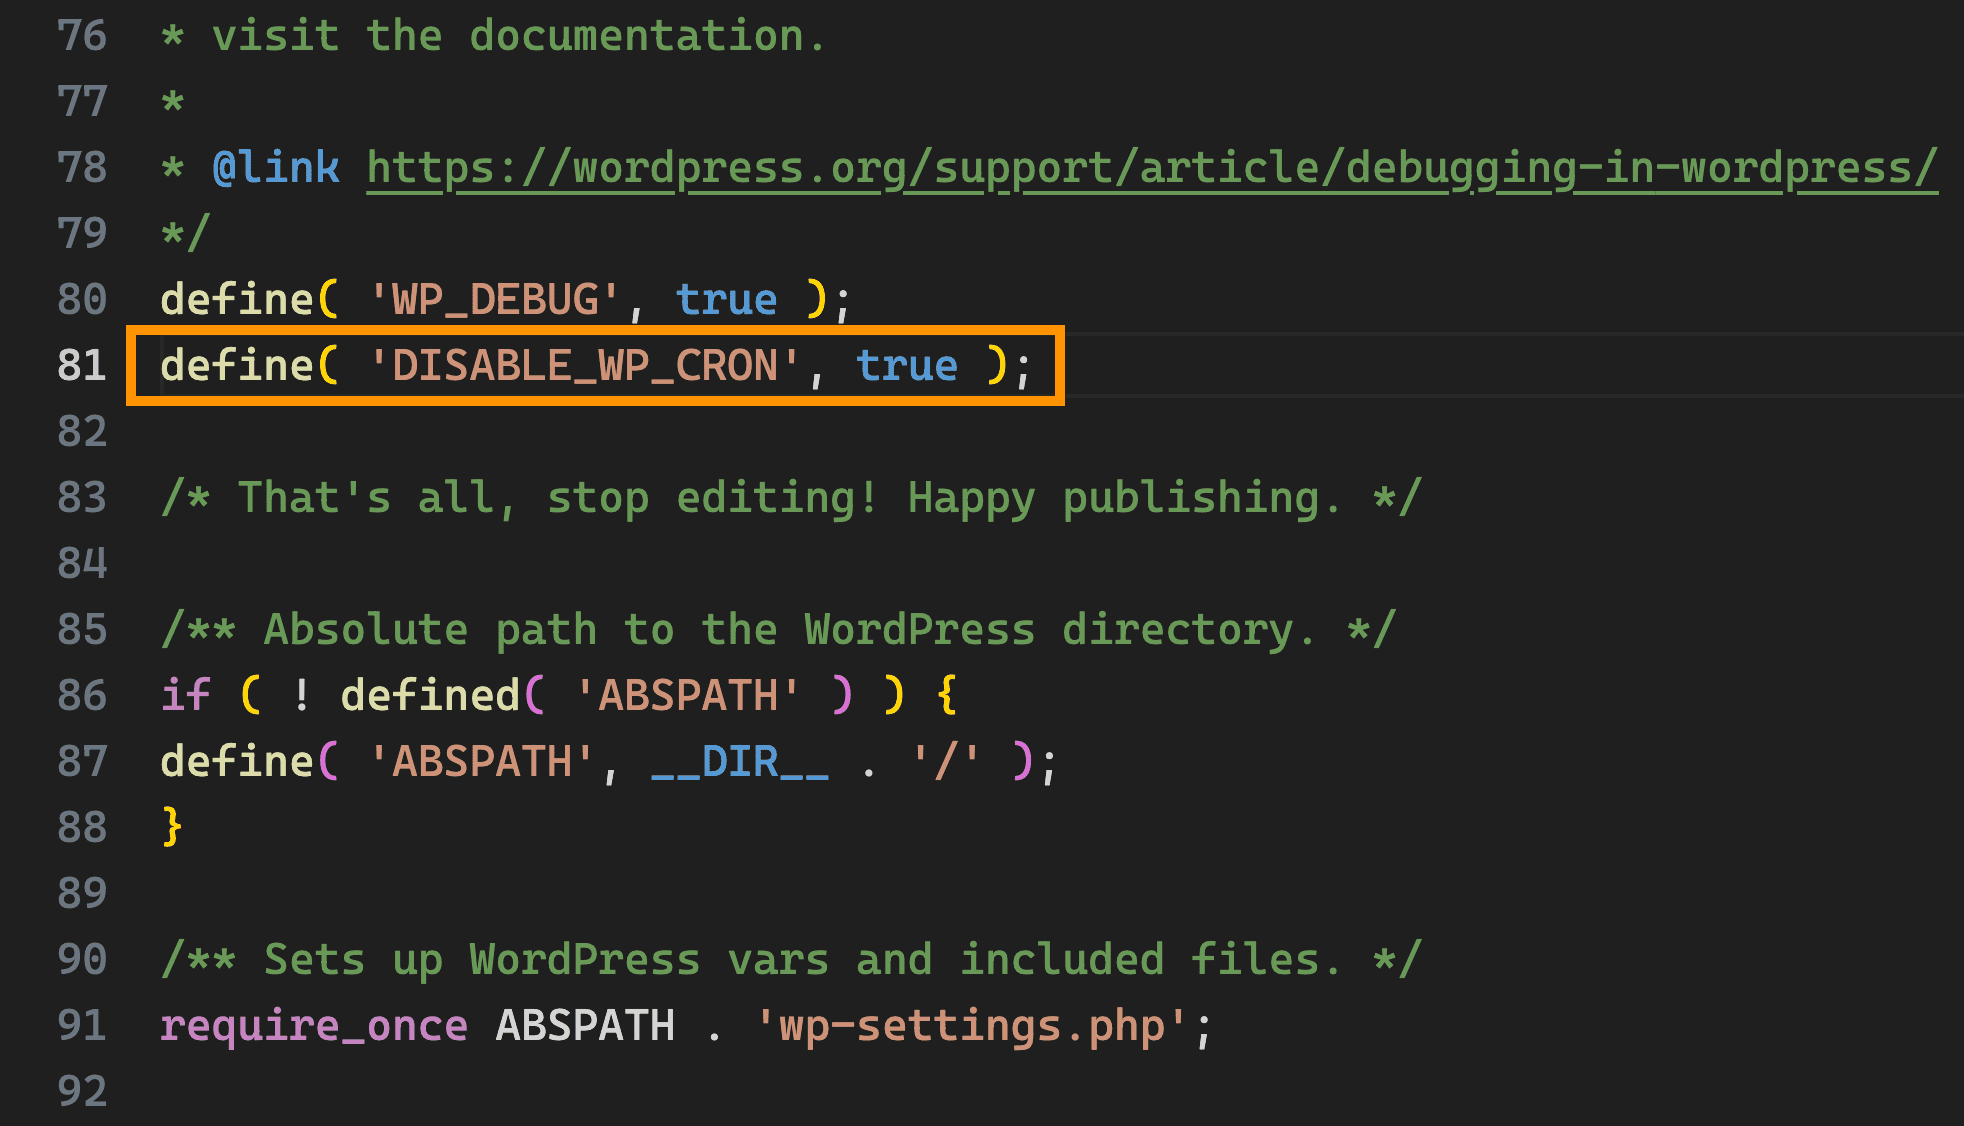
After scheduling the task on your system, there is one more step to complete. WordPress will continue to run WP-Cron on each page load. This is no longer necessary and will contribute to extra resource usage on your server. WP-Cron can be disabled in the wp-config.php file. Open the wp-config.php file for editing and add the following line:
define( 'DISABLE_WP_CRON', true );
Refer to the screenshot below: